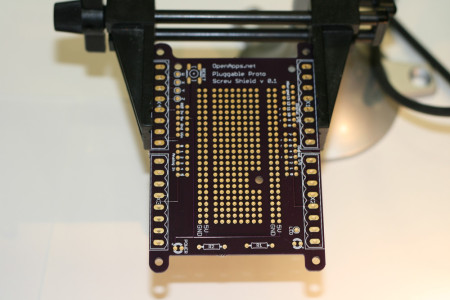
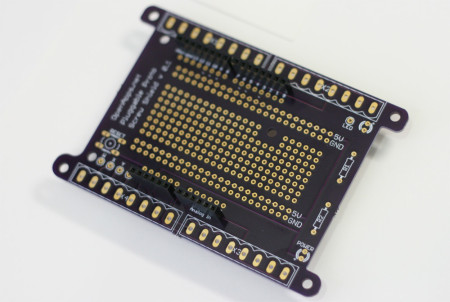
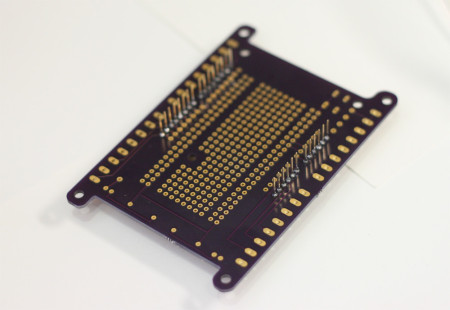
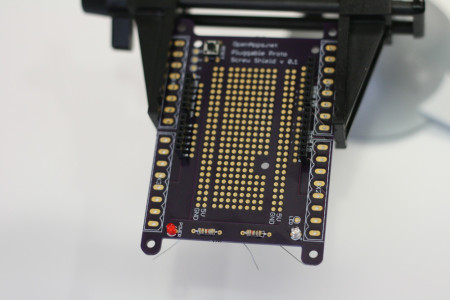
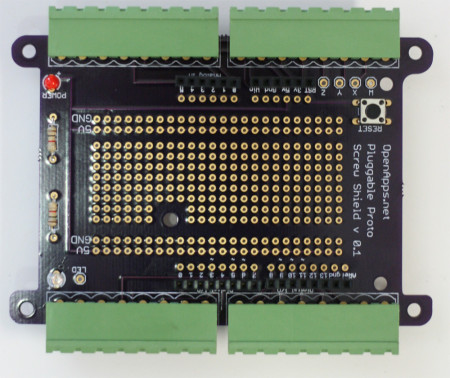
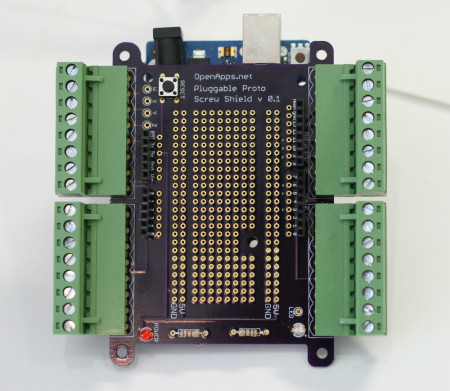
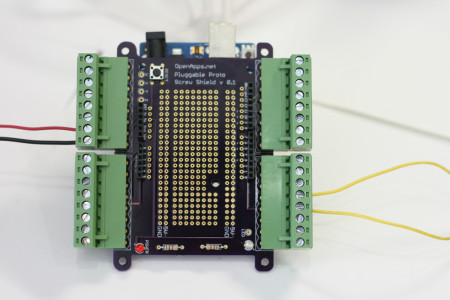
I finished my first prototype of a shield for the Arduino and I think it looks sweet.
Pluggable Proto Screw Shield for Arduino compatible devices. It expands on the Adafruit Proto Screw Shield and uses pluggable terminal blocks along with screw down points for more industrial applications and cases.
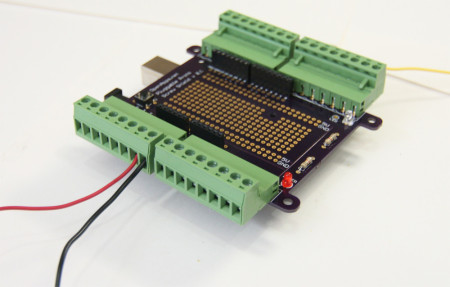
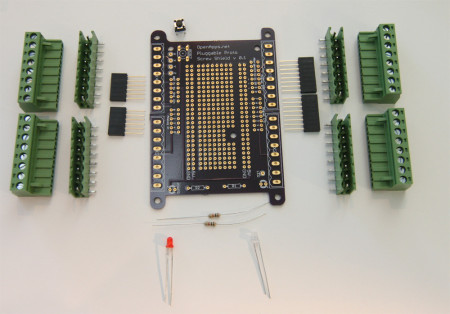
Parts for the Pluggable Proto Screw Shield
- Custom PCB
- 4 Male 8-pin Plug-In Vertical Terminals
- 4 Female 8-pin Plug-Vertical Terminals
- 2 x 8 pin stackable headers
- 2 x 6 pin stackable headers
- 1 Red LED
- 1 Clear LED
- 2 x 1k – Resistors 1/4W 5% Carbon Film
- 1 Reset Switch
Step 1
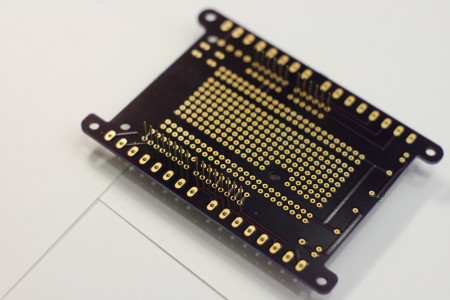
Place the stackable headers into the PCB. They go on the outside holes.
Step 2
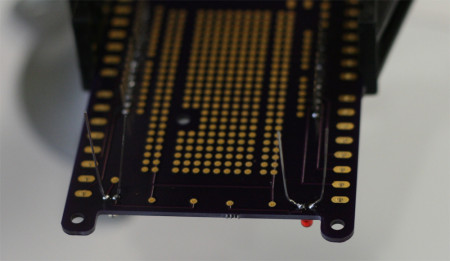
Solder all of the headers
Step 3
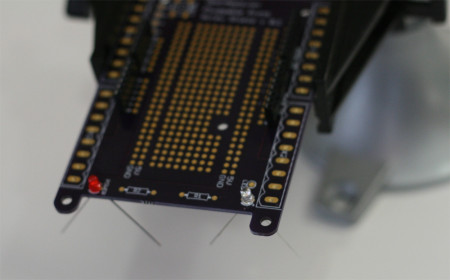
Place the red LED into the POWER slot and the clear/green LED on the LED slot. The long lead is the positive side.
Step 4
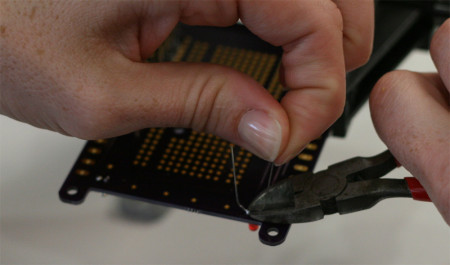
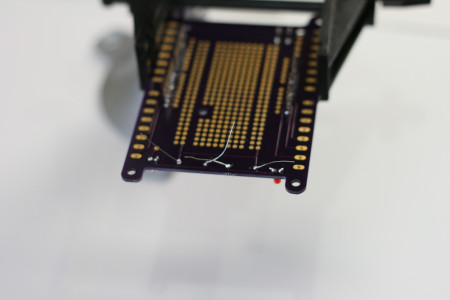
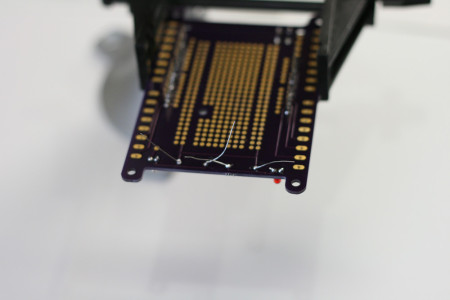
Solder the LEDs and cut off the extra wire.
Step 5
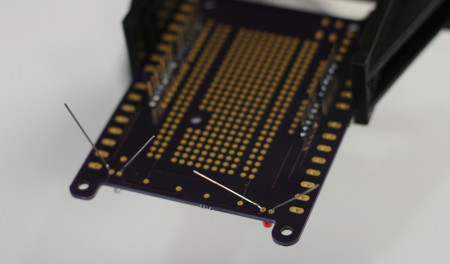
Place the RESET Switch in the reset switch holes and place both of the resistors in R1 and R2.
Step 6
Solder the resistors and reset switch. Cut off any extra wire on the resistors.
Step 7
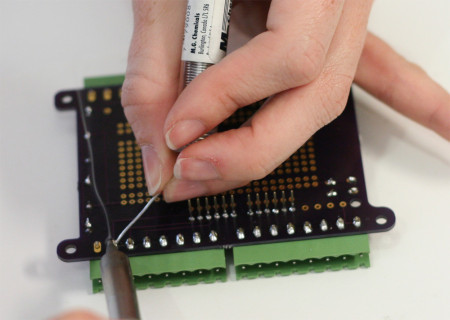
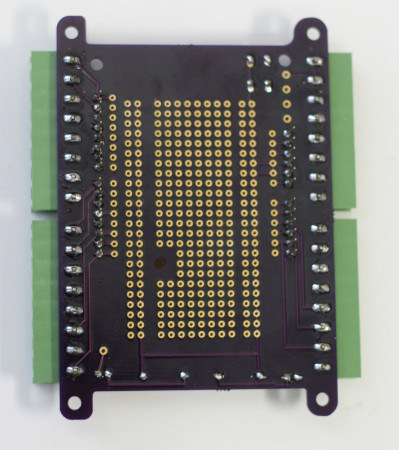
Place the 4 Male 8-pin Plug-In Vertical Terminals around the board as shown and solder the connectors.
Use plenty of solder.
Step 8
Plug in the female sides of the connectors.
Use the proto area to wire projects to the screw terminals.
Enjoy!

