I’ve been helping 3d print PPE for USC Keck, Cedars, UCLA & other locations. More information here.
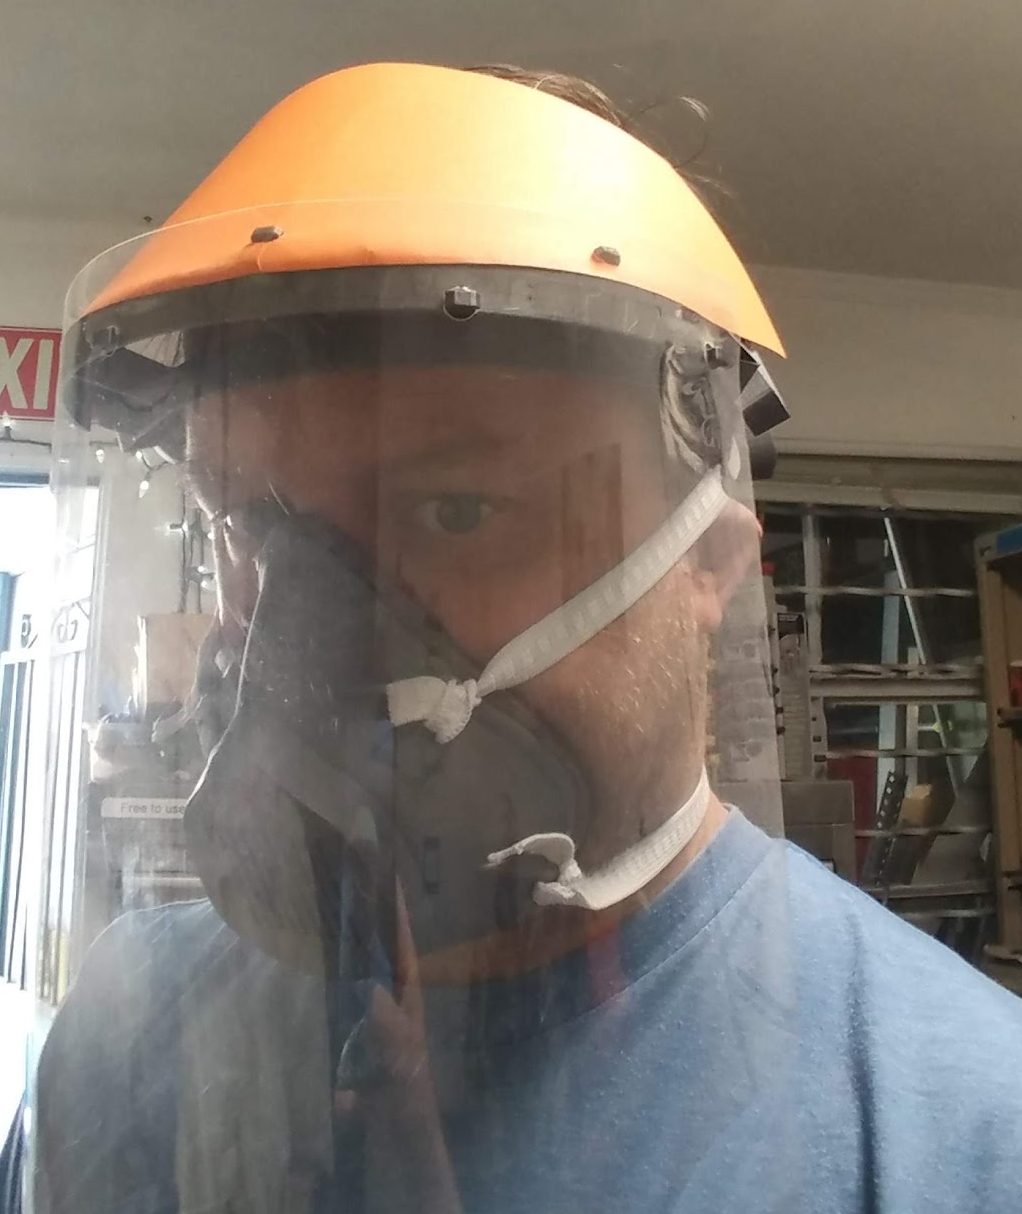
We have our designs up on our GitHub page.
I’ve been helping 3d print PPE for USC Keck, Cedars, UCLA & other locations. More information here.
We have our designs up on our GitHub page.
You can't actually marry your Tesla (sorry) but this is the next best thing: https://t.co/z3KLrGtL1J
— Tesla (@Tesla) September 16, 2019